
The WordPress plugin 
How to put a live Excel calculator on a WordPress page with the SpreadsheetConverter Calculator plugin.
Put a live Excel calculator on your WordPress site 
You build the calculator in Excel with the SpreadsheetConverter add-in, get a link to it (publish it to SpreadsheetConverter Server or to the cloud, or simply use the conversion's preview), and show it on a WordPress page with the free SpreadsheetConverter Calculator plugin. The calculator appears inside your page, styled by your theme. There is no iframe, and it recalculates as visitors type.
You need: Excel on your desktop (Windows or Mac) or Excel for the web, and a WordPress site (6.5 or later) where you can install plugins.
Step 1 — Install the SpreadsheetConverter add-in in Excel 
-
Start Excel and open any workbook. Excel on your desktop (Windows or Mac) works, and so does Excel for the web at excel.cloud.microsoft, which is free with a Microsoft account.
-
On the Home ribbon, click Add-ins.
-
In the search box, type
spreadsheetconverter(one word) and click Add next to SpreadsheetConverter. -
In the Microsoft permission dialog (publisher Framtidsforum I&M AB), click Accept.
-
Within about 30 seconds a Convert to Web button appears on the ribbon, in a SpreadsheetConverter group. If you can't see it, look under … (More) at the right end of the ribbon.
The add-in belongs to your Microsoft account, so it is then available in both desktop Excel and Excel for the web. More about installing
Step 2 — Install the WordPress plugin 
-
In the WordPress dashboard, go to Plugins → Add Plugin.
-
In Search Plugins, type
SpreadsheetConverter. -
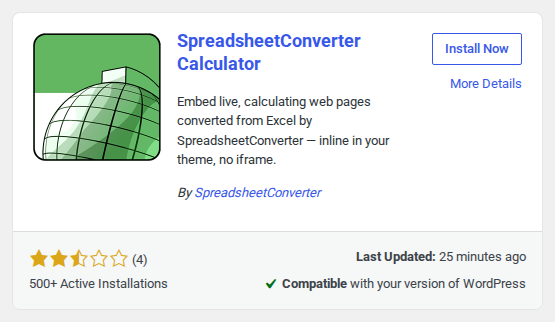
On SpreadsheetConverter Calculator, click Install Now, then Activate.
-
Check the version: go to Plugins → Installed Plugins. SpreadsheetConverter Calculator should show Version 12.2.1 or later. If it shows an older version, click update now under it, or go to Dashboard → Updates and click Check again.

The plugin does not add a menu to the dashboard. You use it inside the page you are editing, as a block or a shortcode. Requirements: WordPress 6.5 or later, PHP 7.4 or later.
Step 3 — Get the link in Excel 
Open your workbook and click Convert to Web to open the SpreadsheetConverter task pane. Sign in if you are asked to. Then choose one of three ways to get the link you will paste into WordPress:
| Where the calculator runs | Saves what visitors type | When you change the workbook | |
|---|---|---|---|
| A. Publish to Server (recommended) | SpreadsheetConverter Server | Yes, as records on the Server | Publish again; the page updates by itself |
| B. Publish to cloud | SpreadsheetConverter cloud | No (unless the workbook has its own Submit) | Publish to cloud again; the page updates by itself |
| C. No publishing — use the preview | Copied into your own WordPress site | No (unless the workbook has its own Submit) | Convert again and host the new copy |
Need the workbook in the Server's My workbooks list, or want to choose notification recipients under Properties → Submit? Choose A, Publish to Server. Publishing to cloud and copying a preview into WordPress do not publish the workbook into your Server space. The WordPress plugin does not move a cloud calculator into My workbooks.
Choose a stable filename before publishing. Remove a version number or date suffix from
the .xlsx filename first: for example, rename Quote calculator v3.xlsx to
Quote calculator.xlsx. Keep that name for future changes. If you already embedded the old
name, publish once under the stable name and replace the WordPress link once. Later updates
under that same name need no WordPress edit.
A. Publish to Server 
-
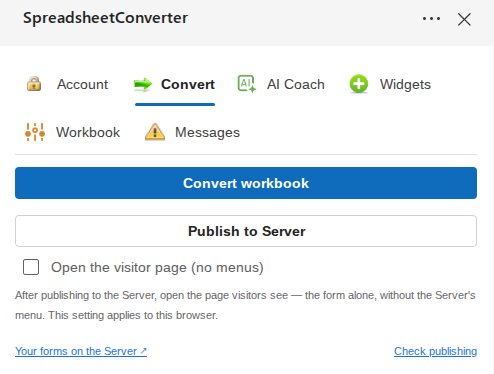
On the Convert tab, click Publish to Server.
-
When the pane says your workbook is published, click Copy link (not Copy visitor link). The link looks like
https://server.spreadsheetconverter.com/t/<your-team>/forms/<your-form>.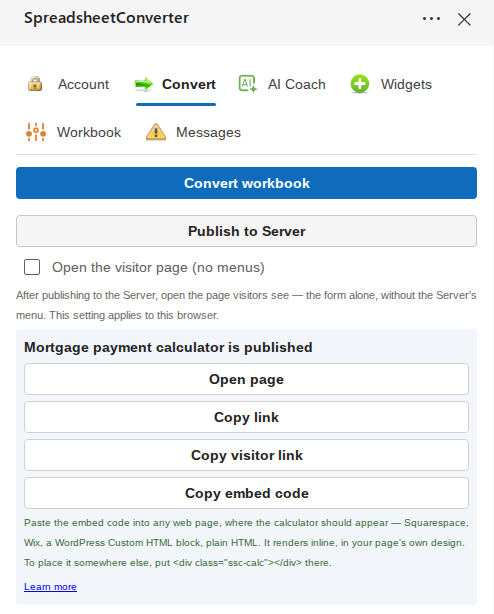
B. Publish to cloud 
-
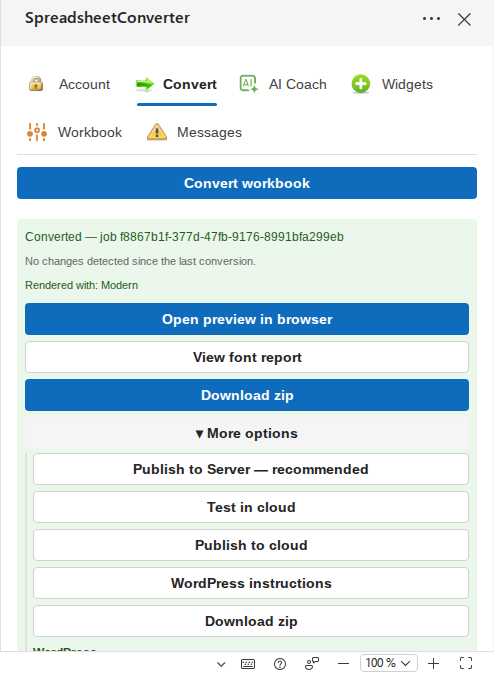
On the Convert tab, click Convert workbook, then ▸ More options.
-
Click Publish to cloud. When the pane says Published (permanent), click Copy permanent link. The link starts with
https://ssccust1.spreadsheethosting.com/. (Do not use Test in cloud: that link expires.)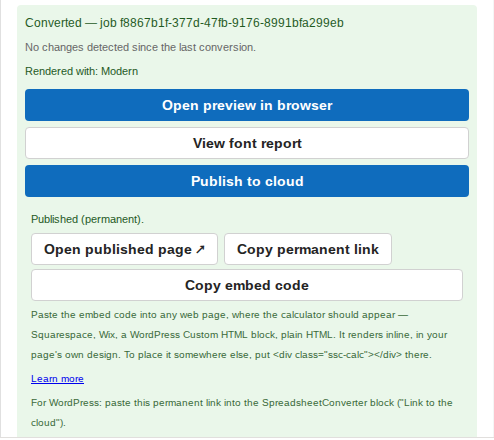
C. No publishing — use the preview 
-
On the Convert tab, click Convert workbook, then ▸ More options.
-
Under WordPress, click Copy public link. The link starts with
https://addin.spreadsheetconverter.com/preview/public/. It stays public for 7 days, which is only needed while WordPress copies the calculator into your site; the copy keeps working after that.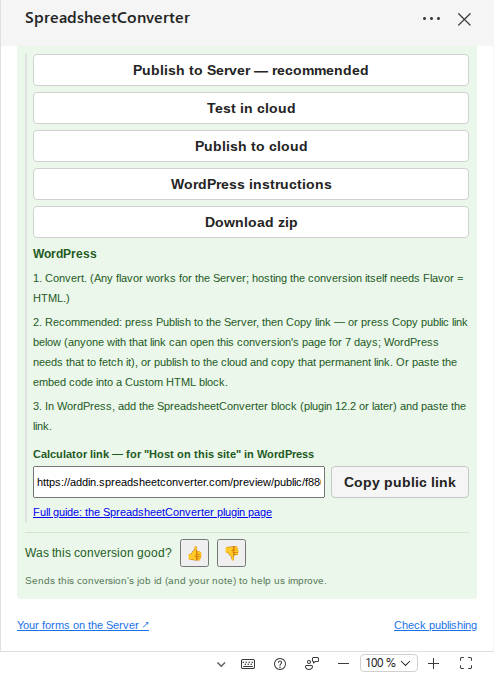
For B and C the workbook is converted with Flavor = HTML (the default; you find it on the Workbook tab).
Step 4 — Add the calculator to your page 
Use the first set of steps in the standard WordPress editor, and the second in Elementor.
Standard WordPress editor (blocks) 
-
Go to Pages → Add Page, or open an existing page. If a Choose a pattern window opens, close it with ×.
-
Click the + button (top left) and type
SpreadsheetConverterin the search box. Click SpreadsheetConverter Calculator.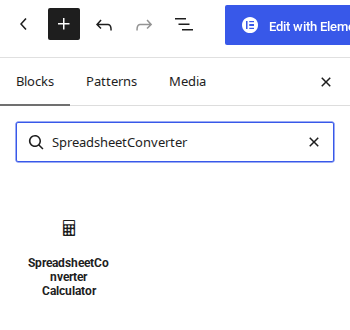
-
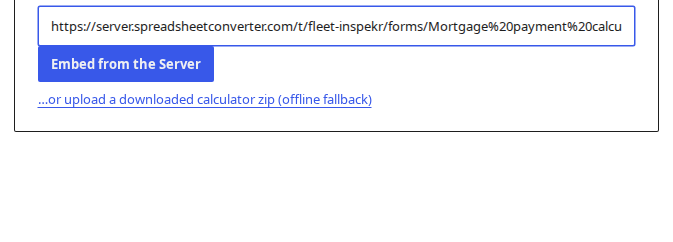
Paste the link you copied in Excel into the block's Calculator link field.
-
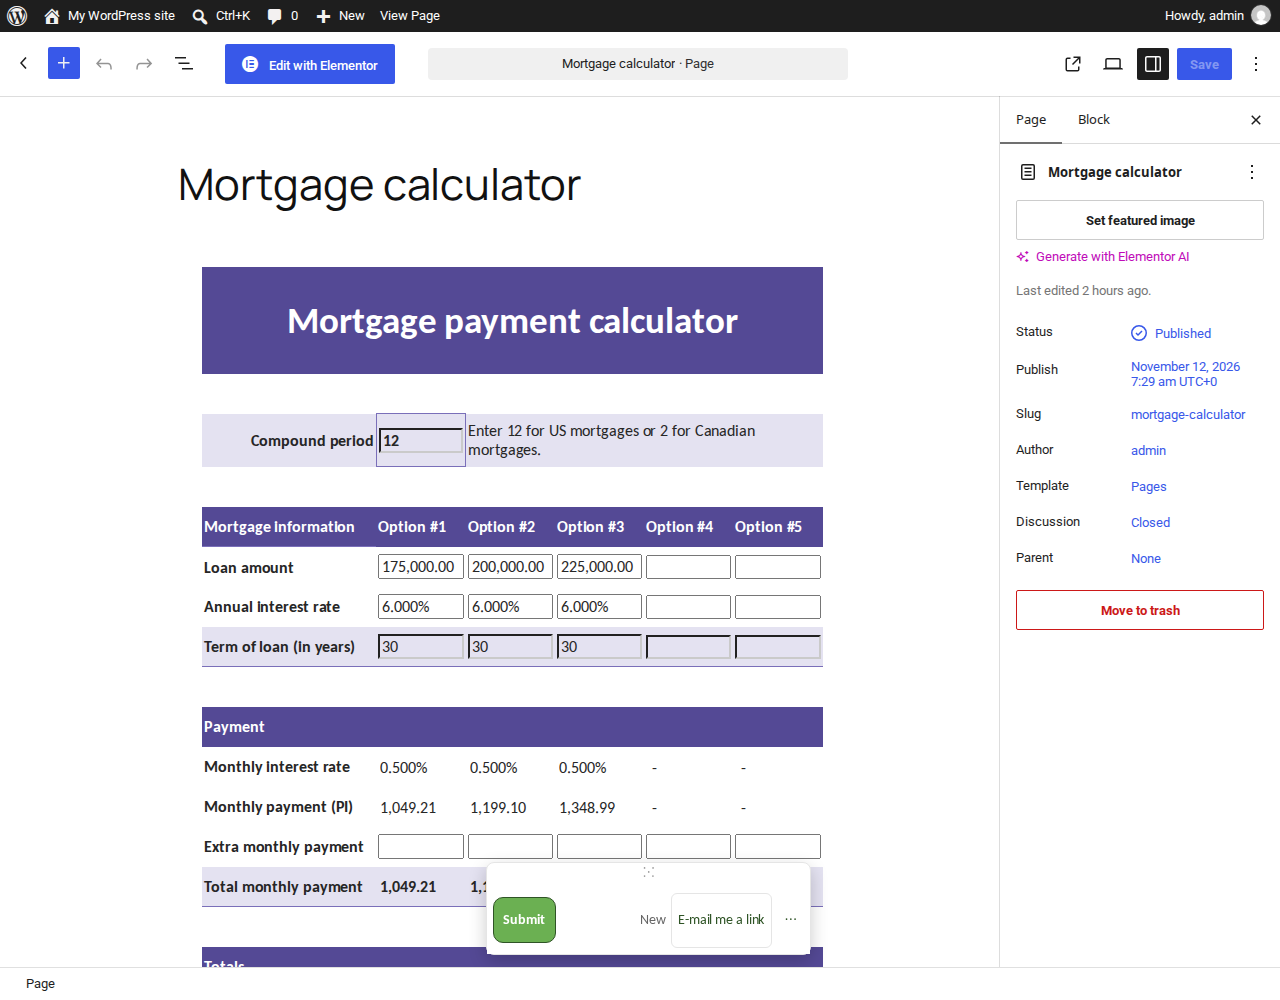
The block recognizes the link and shows one button. Click it: Embed from the Server (link A), Link to the cloud (link B) or Host on this site (link C). The calculator appears in the editor and already calculates.


-
If your theme shows the calculator too narrow, select the block and choose Wide width or Full width with the alignment button in the block toolbar.
-
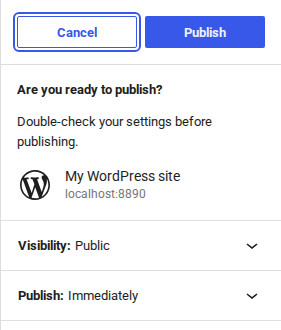
Click Publish, then Publish again in the panel that opens. On an existing page, click Save.
Elementor, other page builders and the Classic Editor 
Elementor does not have a separate SpreadsheetConverter widget. The
SpreadsheetConverter Calculator block belongs to the standard WordPress block editor.
In Elementor, use its built-in Shortcode widget. Searching for spreadsheet in Elementor
will not find that block, even when the plugin is active.
-
In Pages, hover over your page and click Edit with Elementor.
-
If the page already has a Shortcode widget for the calculator, click that widget to edit it. Otherwise, clear the widget search, type
shortcode, and drag Shortcode onto the page where you want the calculator.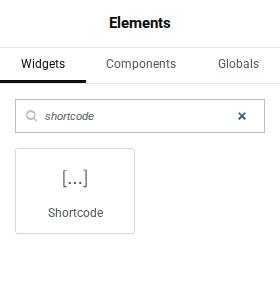
-
In Enter your shortcode, remove the old calculator code from that widget. Paste this complete template, including its square brackets and straight double quotes:
[ssc_calc token="PASTE YOUR CALCULATOR LINK HERE"] -
Replace only
PASTE YOUR CALCULATOR LINK HEREwith the link copied in Excel. Keep[ssc_calc token="before the link and"]after it. Use Copy link after Publish to Server, or Copy permanent link after Publish to cloud. Do not use Copy embed code: that produces a<script>tag, which is different from a shortcode. Pasting a script into a Shortcode widget does not turn it into[ssc_calc].A Server example looks like this (replace the example team and form with your own link):
[ssc_calc token="https://server.spreadsheetconverter.com/t/your-team/forms/your-form"]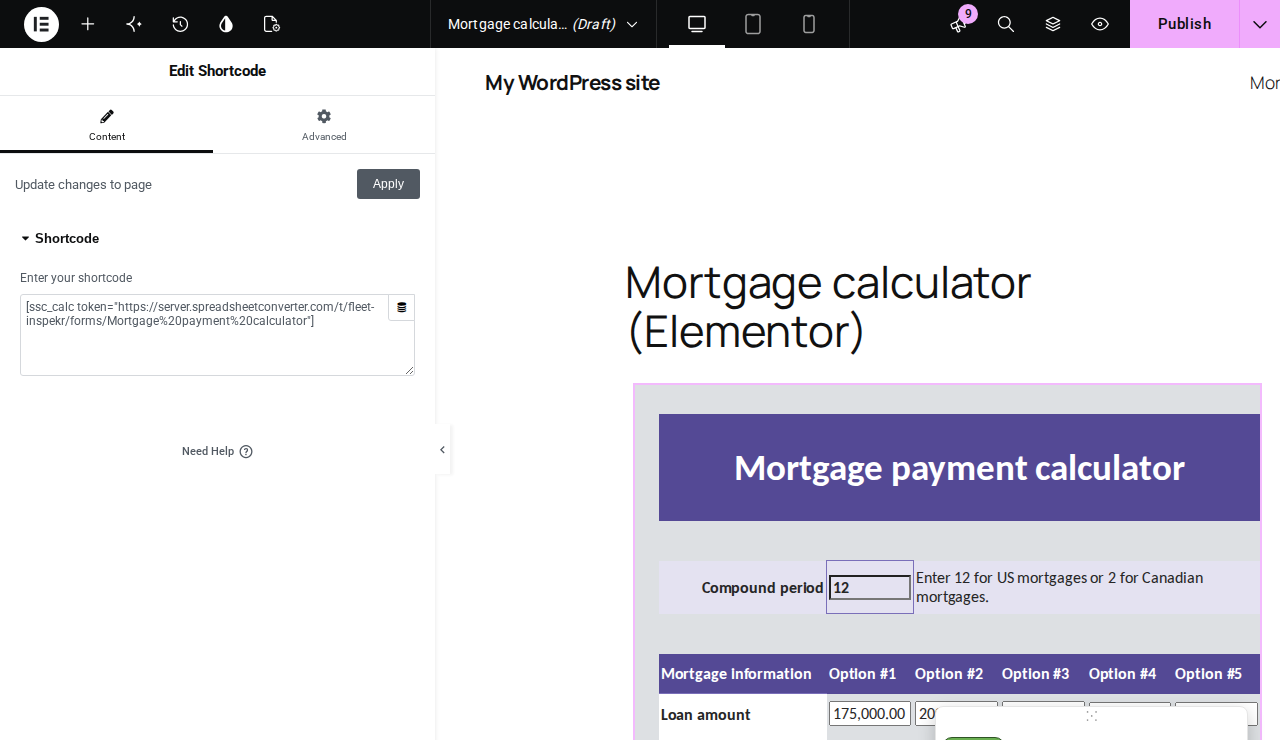
A cloud link begins with
https://ssccust1.spreadsheethosting.com/. Put the whole permanent link between the quotes in the same template, including any%20characters in its name. Use the calculator's page link, not an address ending in/assets/js/ssc.embed.js.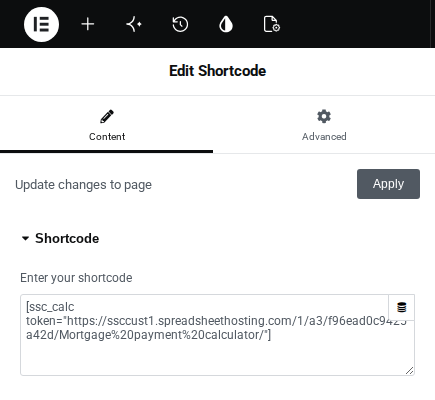
For the preview route (C), first use Host on this site in the WordPress block editor on this same WordPress site. After that import succeeds, put the same Copy public link URL between the quotes in the Elementor shortcode template. A preview link pasted into a shortcode before hosting does not copy the calculator into WordPress.
-
If Elementor shows Apply, click it. Check that the calculator appears in the preview. Remove any old HTML or duplicate Shortcode widget that was also used for this calculator, so the page contains one calculator embed.
-
Click Publish or Update to save the WordPress page.
-
Clear your site's cache. With SiteGround Speed Optimizer, use Purge SG Cache in the WordPress toolbar if it is available; otherwise open Speed Optimizer → Caching and use the purge control. Clear any separate page/CDN cache your site uses too.
-
Open the published page in a private or incognito window. Check that the calculator is visible, then change an input and check that the result changes. The editor preview alone does not check what a logged-out visitor receives.
In the Classic Editor and in other page builders, put the same shortcode in the page text or in the
builder's shortcode element. Use the shortcode for WordPress: a one-line <script> embed can
be broken by speed-optimization plugins. See
Troubleshooting.
This is what your visitors see: the calculator inside your theme, under your site's own header and menu.
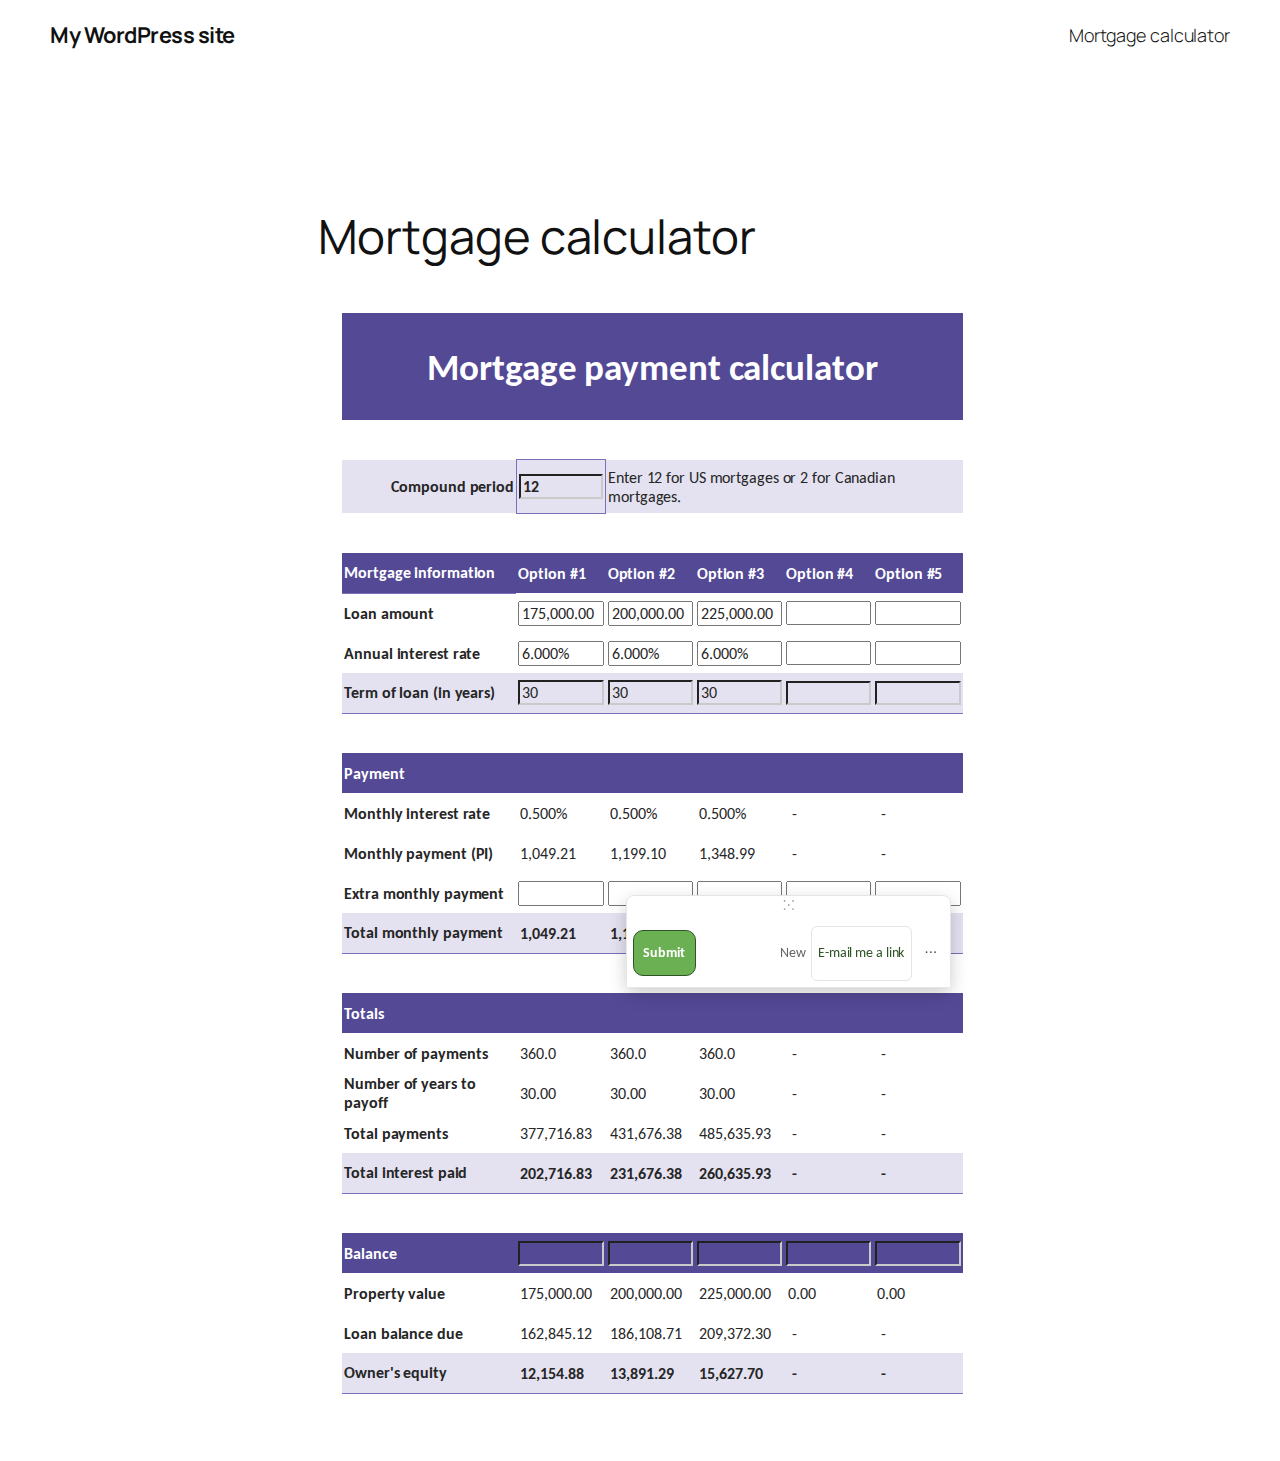
Then check the page while you are logged out. Open it in a private or incognito window. Caching and optimization plugins treat logged-in users differently, so what you see when logged in is not always what your visitors see.
Each page can show one calculator. Put other calculators on their own pages.
Changing the calculator later 
Remove any version number or date suffix from the .xlsx filename before establishing the
link you will keep in WordPress. For example, use Quote calculator.xlsx instead of
Quote calculator v3.xlsx. If the old filename is already embedded, publish the renamed
workbook and replace that link once. Then keep the stable name for every update.
- Published to the Server: edit the workbook in Excel, keep the same
.xlsxfilename, and click Publish to Server again in the same space. The existing WordPress link shows the updated calculator; you do not need to edit or replace the WordPress widget. - Hosted on your site: click Convert workbook again, then Copy public link, paste the new link into the block and click Host on this site again. This replaces the stored copy.
- Linked to the cloud: edit the workbook in Excel, keep the same
.xlsxfilename, click Convert workbook, then Publish to cloud again. The existing WordPress link shows the updated calculator; you do not need to edit or replace the WordPress widget.
For Server and cloud, keep using the same publishing destination and account/space. Changing from Server to cloud (or the reverse), or publishing under a different filename, can give you a new link; in that case replace the link in WordPress. If you use a caching plugin, clear its cache after an update and check the page in a private window.
Without internet access from WordPress 
If your WordPress server cannot reach the internet, click Download zip in the task pane and use …or upload a downloaded calculator zip (offline fallback) in the block.
Upgrading from the old plugin 
Earlier versions of the plugin had an SSC menu in the dashboard, where you uploaded a zip file and inserted the calculator into a page. The current version replaces that screen with the block and the shortcode, so the menu is gone. That is expected. After the update WordPress shows a one-time notice that says the same.
- Pages that already show an old calculator keep working. Their files in
wp-content/uploads/ssc/are not changed. - To add a new calculator, or to replace an old one, convert and publish it in Excel and add it with the block or the shortcode.
Troubleshooting 
I cannot find a SpreadsheetConverter widget in Elementor 
Use Elementor's Shortcode widget. The SpreadsheetConverter Calculator block is for
WordPress's standard block editor, so it will not appear in Elementor's widget search.
Clear the search and type shortcode. Follow the
Elementor steps.
The Elementor Shortcode widget is blank 
Click the widget and inspect Enter your shortcode. Its contents must begin with
[ssc_calc token=" and end with "]. If it starts with <script, it is embed code,
not the plugin shortcode. Replace it with the shortcode template in the
Elementor steps,
using Copy link after Publish to Server or Copy permanent link after Publish to cloud.
A bare link is not a complete shortcode either.
Update the page, purge the site cache, and check in a private window. A script optimizer can remove the original script tag from the widget and place it elsewhere, leaving a blank area. This does not mean that publishing the calculator failed.
The workbook is missing from My workbooks 
Publish to cloud creates a cloud calculator; it does not add a workbook to My workbooks on SpreadsheetConverter Server. The WordPress plugin also has no workbook management list. To manage the workbook and its Submit notifications on the Server:
- Open the intended workbook in Excel. Remove any version number or date suffix from its
.xlsxfilename so you can keep the same name for future updates. Then open Convert to Web. - Sign in with the builder identity that belongs to the intended Server space, then click Publish to Server. Wait for the successful publication message. Converting alone is not publishing to the Server.
- Open your Server space and choose My workbooks. If the workbook is missing, check that the signed-in identity and space match the publication. If it is still missing after a successful Server publication, contact support with the copied form link and publication message; repeatedly publishing to cloud will not fix this list.
- Open the workbook's Properties, then Submit. Select the required member or shared mailbox under Notify on submit. Adding an address to the space's Members makes it available to choose; it does not by itself select that address for every workbook.
- Check People can submit this form if submitting is intended, and select Attach a PDF of the form if required and available. Click Save. Reopen Properties to check the chosen recipient is still selected.
- After publishing to the Server, use Copy link in Excel and replace the cloud link inside
your WordPress
[ssc_calc token="…"]shortcode with that Server form link. Save the page and clear its cache. Server Properties apply to the Server form; they do not change an independently published cloud calculator. - Test the complete flow with a clearly labelled test submission and check that the intended recipient receives it. A calculator appearing on the page does not verify email delivery.
The calculator shows when you are logged in, but not when you are logged out 
A possible cause is a speed-optimization plugin combining your site's JavaScript: SiteGround Speed Optimizer, WP
Rocket, Autoptimize, LiteSpeed Cache and similar. These plugins can treat logged-in users differently from visitors. Use the block
or the [ssc_calc] shortcode instead of pasted embed code. If you must keep an HTML widget, replace
its content with both of these lines:
<div class="ssc-calc" data-src="https://server.spreadsheetconverter.com/t/your-team/forms/your-form/embed.html"></div>
<script src="https://server.spreadsheetconverter.com/t/your-team/forms/your-form/ssc.embed.js"></script>
Then clear the optimization plugin's cache and check again in a private window.
The SSC menu is missing from the dashboard 
That is expected. The current plugin has no dashboard menu; you add calculators inside the page you are editing, with the block or the shortcode. Pages that already show an old calculator keep working.
The block says the link does not look like a SpreadsheetConverter link 
Copy the link again in Excel with Copy link after Publish to Server, and paste the whole link. Check under Plugins → Installed Plugins that the plugin is version 12.2.1 or later.
The block says the conversion link is private 
You copied the address from the browser. In the task pane, open More options → WordPress and click Copy public link, or use Publish to Server and Copy link.
The block says it is a temporary test link 
Click Publish to Server (or Publish to cloud) in Excel and paste that link instead.
Only one calculator works 
Each page can show one calculator. Put other calculators on their own pages.
Your site sends a Content-Security-Policy 
Allow https://server.spreadsheetconverter.com in script-src, style-src, img-src and
connect-src (for Link to the cloud, also the calculator's spreadsheethosting.com address).
WordPress sends no Content-Security-Policy by default.
Still not working 
Open …/forms/your-form/embed.html directly in your browser. If the calculator works there, the
problem is on the WordPress page. Contact support with the page address, the link you
pasted and the plugin version.