The easiest way to import an Excel calculator, live chart or smart form into a Wix blog or website is to use SpreadsheetConverter. This tutorial will show you how to publish live Excel spreadsheets and charts in Wix using Publish to Cloud.
Adding a live calculator or chart to your website adds value to your visitors and makes your website more interactive. SpreadsheetConverter converts Excel spreadsheets, charts and tables to live web pages, that can easily be imported into your Wix blog or website with a simple link.

Most blogs and websites consist of just text and static images. A simple way to make it more interesting is to add a live chart, calculator or web form to it. Help your visitors solve their problems!
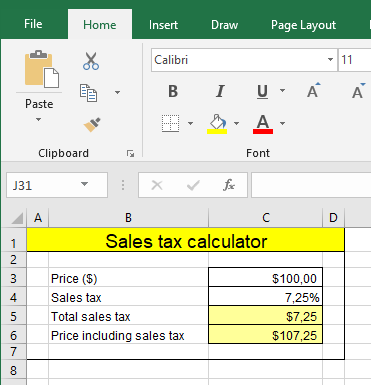
To create this tutorial, we took a simple calculator for sales tax and published it on the web. To be able to embed the Excel spreadsheet in a web page, we first converted it to HTML and JavaScript using SpreadsheetConverter HTML.
With this clever Excel plugin, you can also create smart web forms, advanced tables, import interactive charts or open live graphs on your own website.
Before we converted the sales tax calculator spreadsheet to a web page, we opened it in Excel.
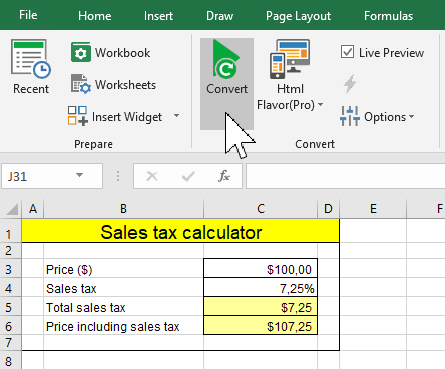
Converting the spreadsheet to an HTML file was simple with SpreadsheetConverter HTML. We just opened the calculator in Excel and pressed the Convert button in the SpreadsheetConverter ribbon. We enabled Live Preview to have the online preview of the web page automatically refreshed every time we saved new changes in Excel.
SpreadsheetConverter offers click-to-publish web hosting with Publish to Cloud, a built-in cloud service that is hosted on the globally distributed Amazon S3 infrastructure with superior performance, extreme reliability and massive scalability. Over a dozen server locations around the globe ensure that your calculator always is within easy reach of your global audience.
Publish to Cloud offers free 7-day test publishing for all users and permanent production publishing for paid users.
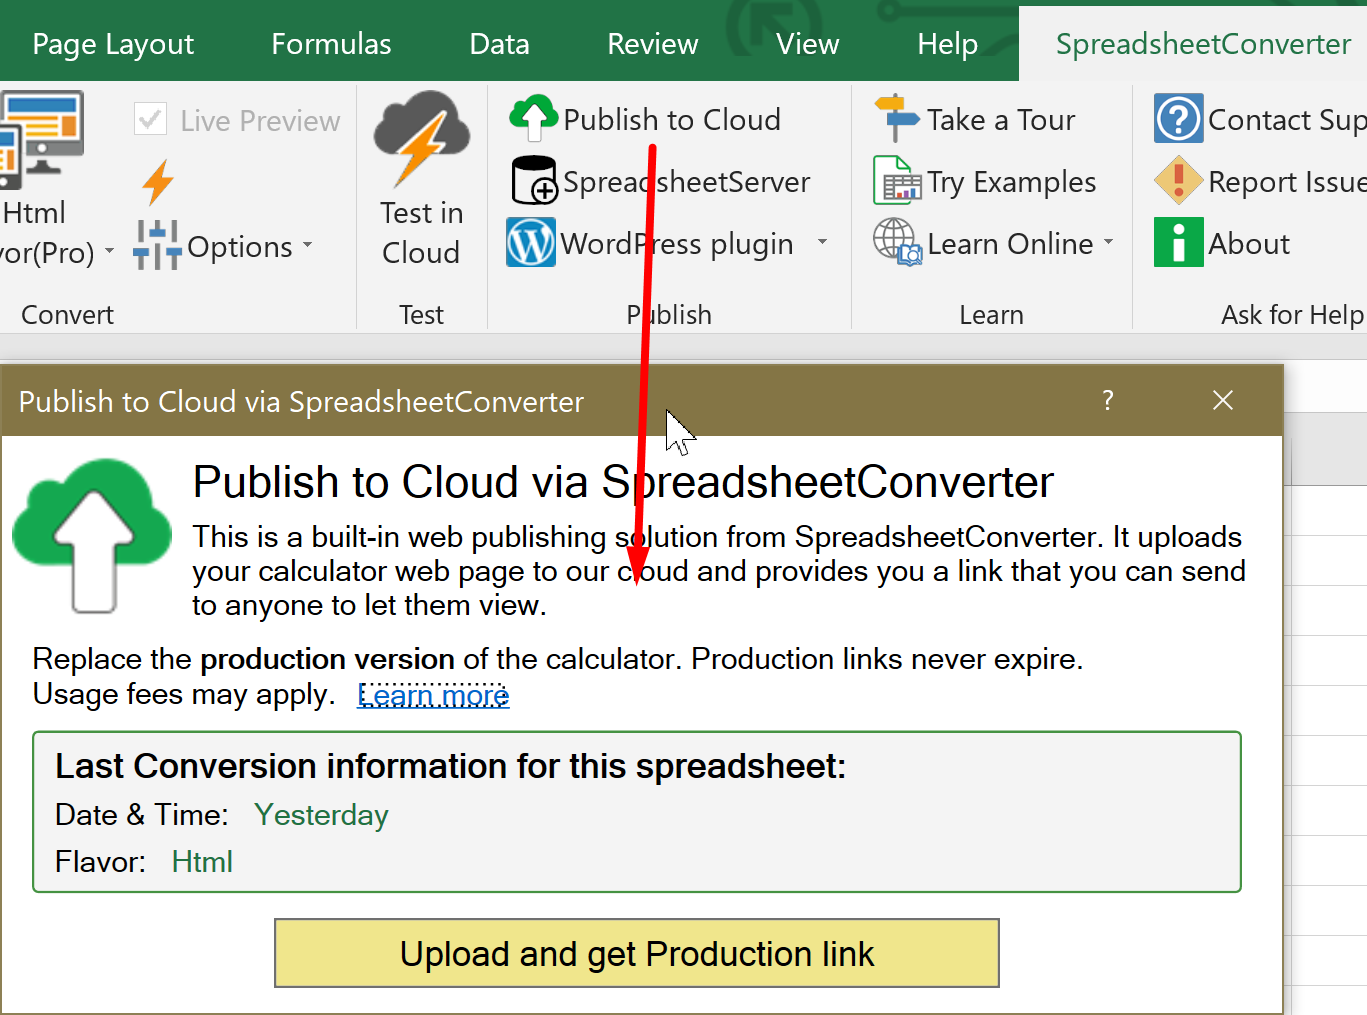
Once we had converted the spreadsheet to web format we could upload it to the web by clicking on the Publish to Cloud button on the SpreadsheetConverter ribbon.
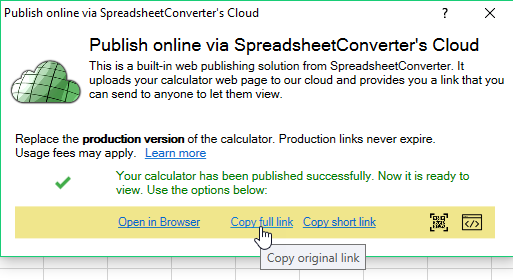
When the upload to Publish to Cloud finished, an option to open or copy the calculator web page appeared. We clicked on the Copy full link and it copied the link to the uploaded calculator to the clipboard.
Now switch to your site at Wix.com http://www.wix.com/
Inside the editor, you see a Plus (+) button on the left-hand side floating menus. Click on the Plus button and scroll down to find the More menu and click on it.
Then click on the Embed a Site button (the icon that says “www”) and drag it to our page.
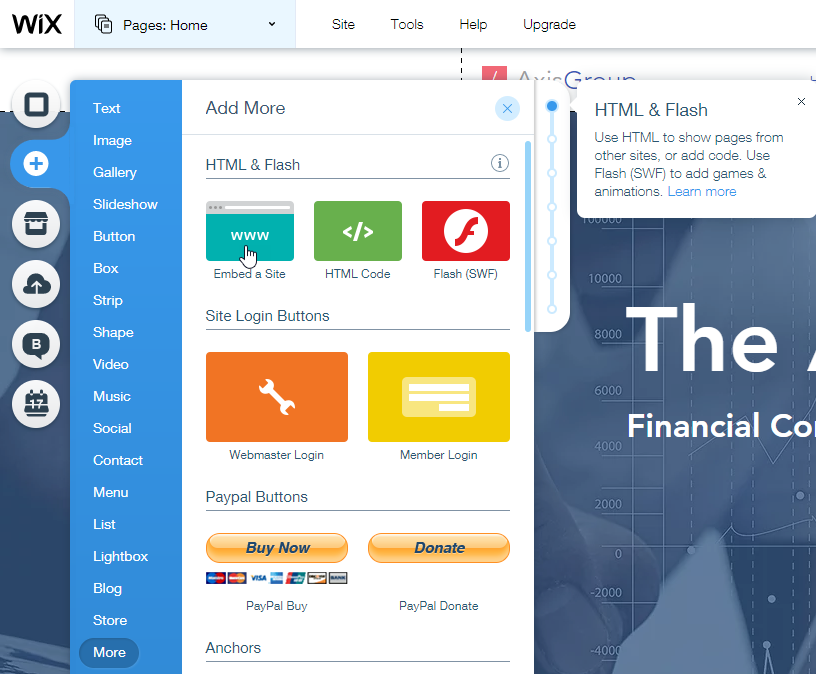
After you dragged and dropped the Embed a Site widget, it should display a blank gray area with Enter Website Address button on the top left corner and resize handles all around.

Click on the Enter Website Address button and it should open a side pane on the right.
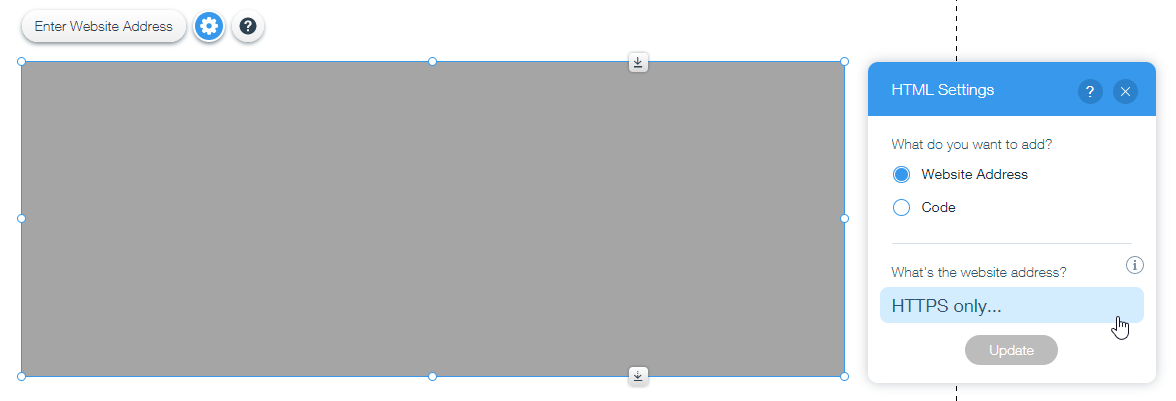
Paste the calculator link you copied from the Publish to Cloud dialog of SpreadsheetConverter into the blue box where “HTTPS only…” is displayed.
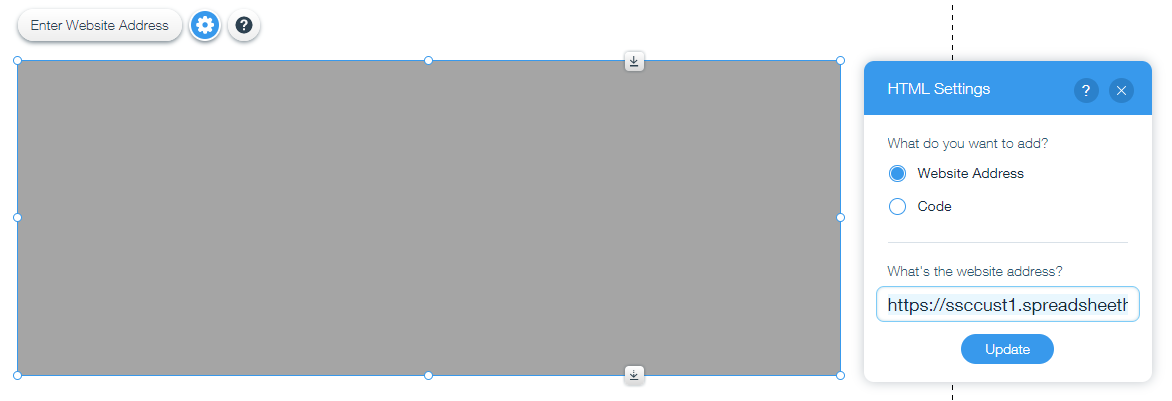
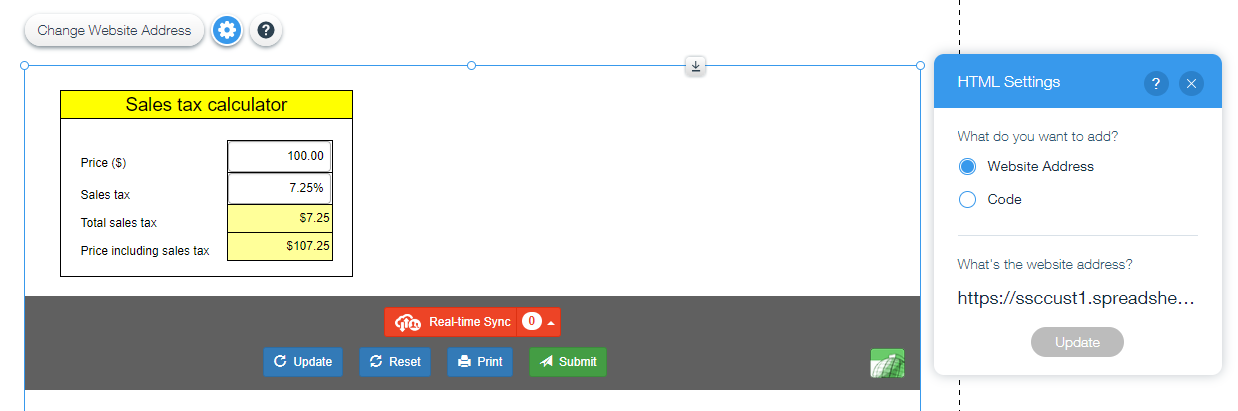
Now press Update button and the preview of your calculator should be instantly shown.
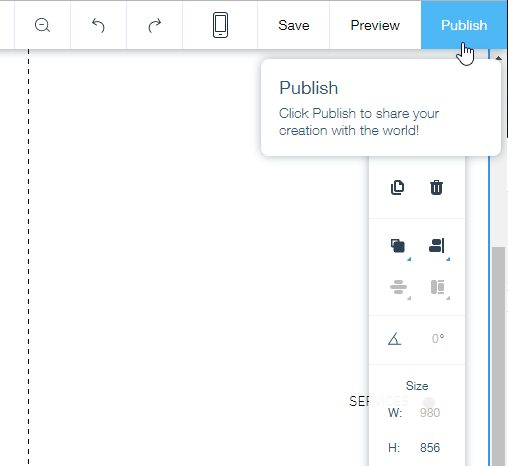
In order to resize the calculator, please use the resize handles available on its edges. To expand your calculator further, you may also need to push the other sections below, please use the Stretch Handle as shown in the screenshot below.

Finally, click on the Publish button on the top right corner.
After you publish, you can click on the View Site link inside the Publish menu to view your page.

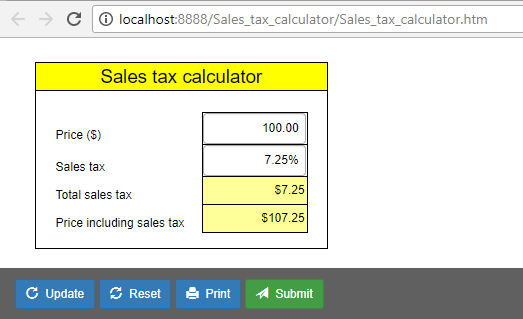
We opened the web page in a browser and tested the calculator – it worked great. For every new value we entered into the Price field, it automatically calculated new amounts for Sales tax and Price, just like Excel.
If you don’t want the calculator to include a toolbar, or if you want to select other buttons for the toolbar, you need to adjust the Workbook settings in SpreadsheetConverter. To remove the toolbar, unselect all buttons in the Workbook > Toolbar section.
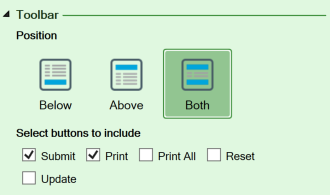
To remove the toolbar, you must also unselect Enable Real-time Sync in Workbook > Web Page Options.
![]()
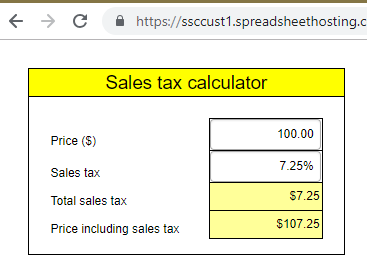
Convert the spreadsheet and upload it again with Publish to Cloud. The toolbar has now been removed.
If you want to use an uploaded calculator on more than one page, just insert the embed code once for every page where you want it to appear.
Note that by default, each time you embed a form or calculator it will be a unique, independent copy of it. As an example, you may want to add an order form to any page on your website. Any changes you make to the order form on “page A” will not be visible on “page B”, because the two forms are independent. If you want to connect them to show the same order form on two or more pages you may want to read more about the Real-time Sync feature in the “sign-up form” tutorial.
SpreadsheetConverter can publish almost any Excel calculator, chart, spreadsheet or electronic form on the web. For more examples, visit our Examples library.


Click on Download to install and test this Excel add-in for Windows.
Click on Upload to let us convert a spreadsheet for you for free.