
Prepare a form and validate its inputs 
Choose the fields end users can edit 
Use Input cells and widgets to make each field explicit. Give fields clear labels and test the values they pass to your formulas. A Textbox widget can be marked Required.
Check validation behavior 
Set applicable validation rules in the workbook and convert it. In the preview, try both accepted and rejected values, including empty required fields. Read any conversion messages instead of assuming that every Excel validation rule has an identical web equivalent.
Configure submission 
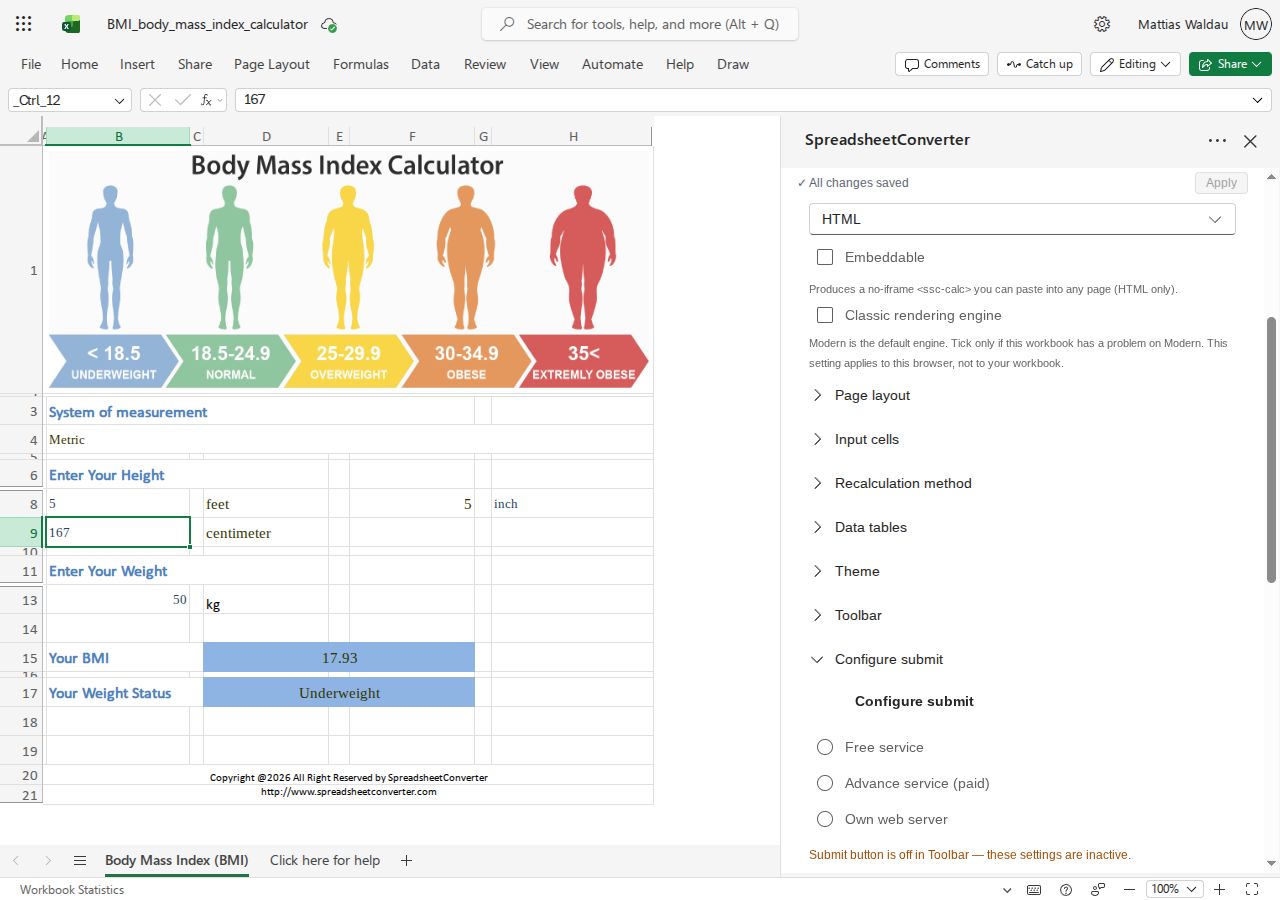
For an output that uses Configure Submit, enable the Submit button in Toolbar and select exactly one submit mode. The pane reports conflicting modes and required settings. If the Submit button is off, the Configure Submit settings are inactive.
Choose the After successful submit and After failed submit outcomes for your form. These can direct the end user to a URL or show a sheet. Use the pane’s validation feedback to correct missing or invalid settings before conversion.
Test the destination 
The selected hosting destination determines how a form saves or submits data. Test the complete workflow at the destination, including the success and failure outcomes. An enabled Submit control does not establish that an external inbox or receiving service is available.
For forms published to SpreadsheetConverter Server, follow the Server publishing flow rather than applying the classic cloud or inbox instructions indiscriminately. See publishing to Server.