There are several ways to upload files to web servers. You can use the File Transfer Protocol, FTP, to publish a converted spreadsheet to one of your own web servers.
When you convert a spreadsheet with SpreadsheetConverter, the converted web page and all support files are placed in a folder on your hard disk. This tutorial shows you how to publish a converted spreadsheet as a live calculator or smart web form on a web server so that it becomes available for your users.
Note: this tutorial describes a generic way to manually upload the converted web page to any web server that you have access to. If you don’t mind using the web servers hosted by us, we recommend that you use the much more convenient Publish to Cloud service.
Here’s what you need to upload a converted spreadsheet to your website:
The conversion process will create a web page from the contents of the spreadsheet. This web page is stored in a special folder called the Conversion Path. The converted web page is automatically opened for instant testing in one or more web browsers. All of this is controlled by your SpreadsheetConverter Options.

In Excel, look for the SpreadsheetConverter tab at the right-hand end of the Excel menu. Click the tab to switch to the SpreadsheetConverter ribbon.
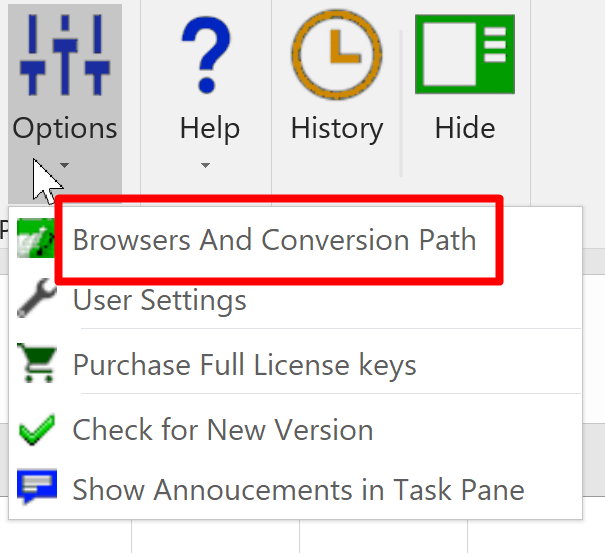
Open the Options menu. Select Browsers and Conversion Path.
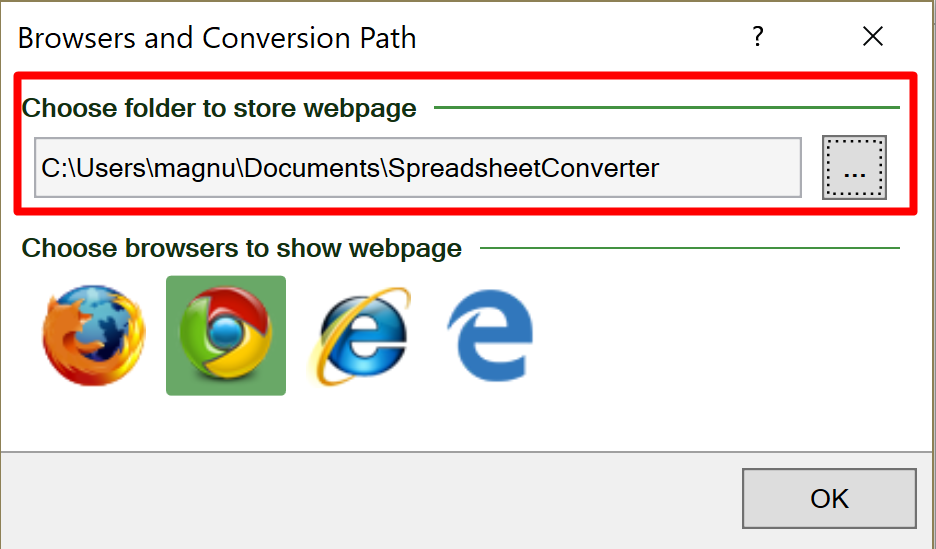
Accept the default location or click on the button to the right under Choose folder to store webpage and navigate to where you want SpreadsheetConverter to store the web pages it creates. All the converted web pages will be stored here, in the same flat folder structure, even if the source spreadsheets are in different folders. Each converted calculator or form will be enclosed in its own subfolder.
Select what web browsers you wish to test the result of each conversion in – click once to activate a browser, click once again to deactivate. Your converted web pages will open in all selected browsers directly after conversion.
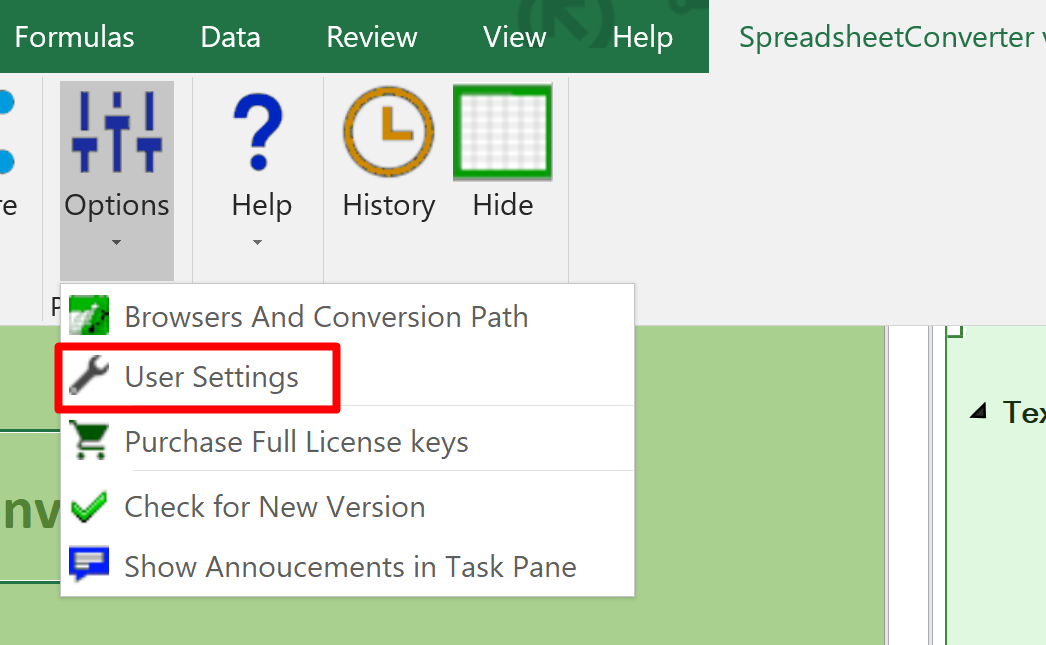
To change or translate any built-in texts, including the button texts, use the User Settings.
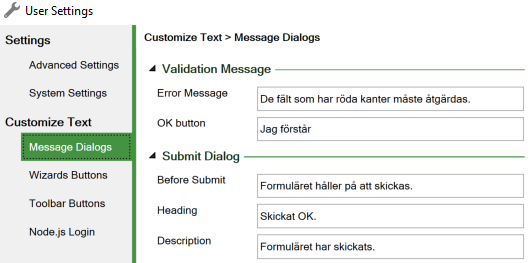
On the Message Dialogs tab, click on the arrows to expand the following sections:
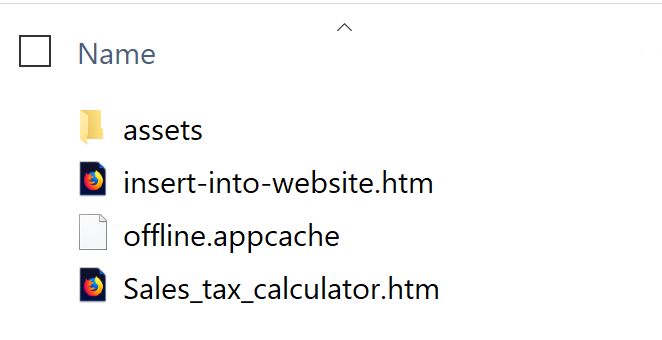
After each conversion, a folder with the same name as the spreadsheet is created in the designated folder. This folder contains the skeleton HTML required to render the spreadsheet, plus the support files required for automatic recalculation.
This folder typically has the following contents:
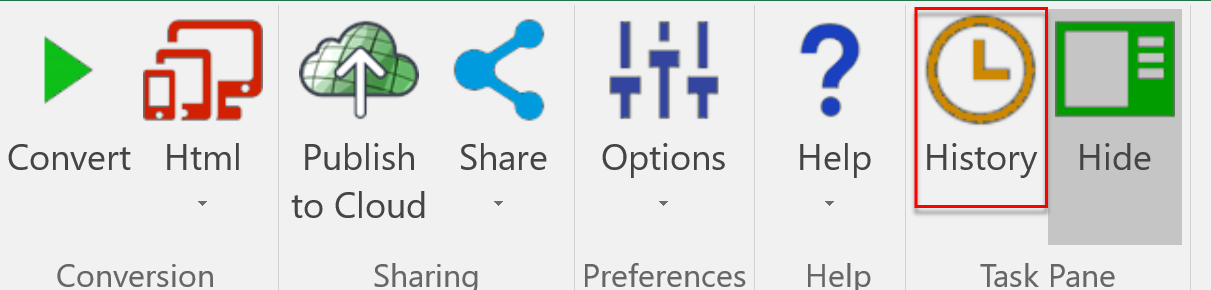
Another way to locate the conversion output, the converted web page that you can upload on the web, is to use the History list.
Navigate to the SpreadsheetConverter ribbon and select History.
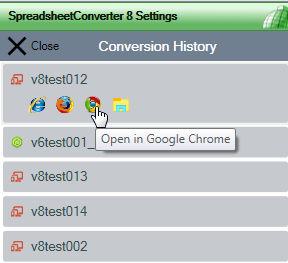
In the History list, locate the calculator you want to publish and click on the yellow folder icon. This will open a new Windows Explorer window showing the conversion output folder.
Start the FTP client program, e.g. FileZilla. Enter the Host (server name), Username and Password.
![]()
Click on the connect button (it actually says “Quickconnect” in FileZilla). The FTP progam should now connect to the server and show the contents of one of its folders. If this operation fails, correct any errors reported in the status pane.
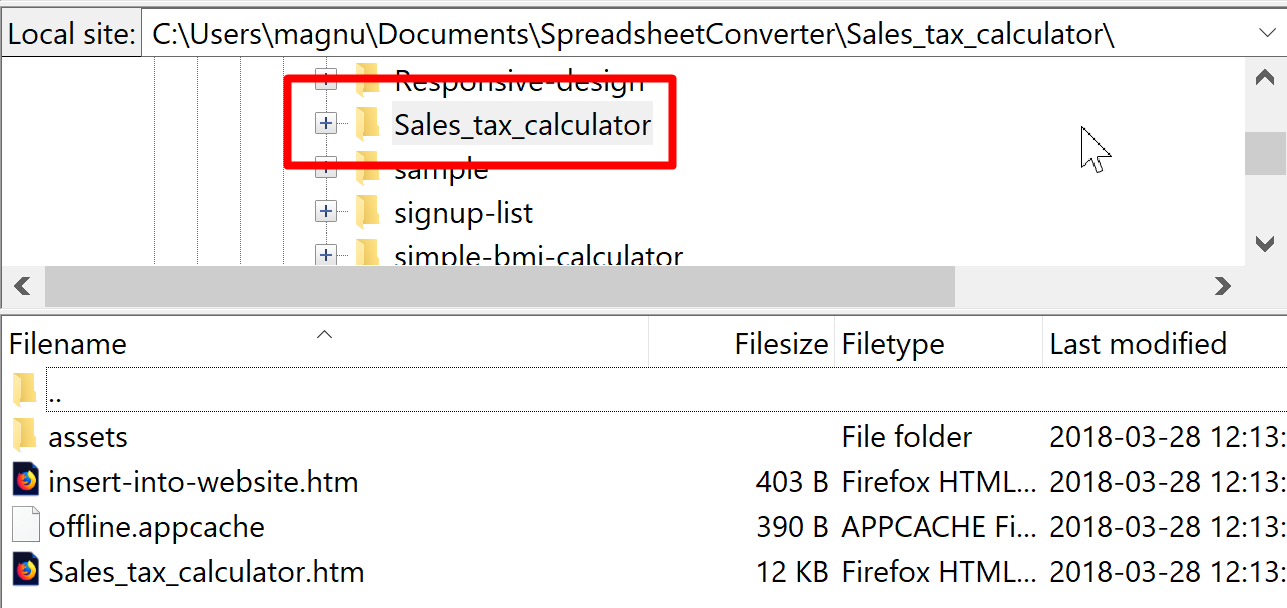
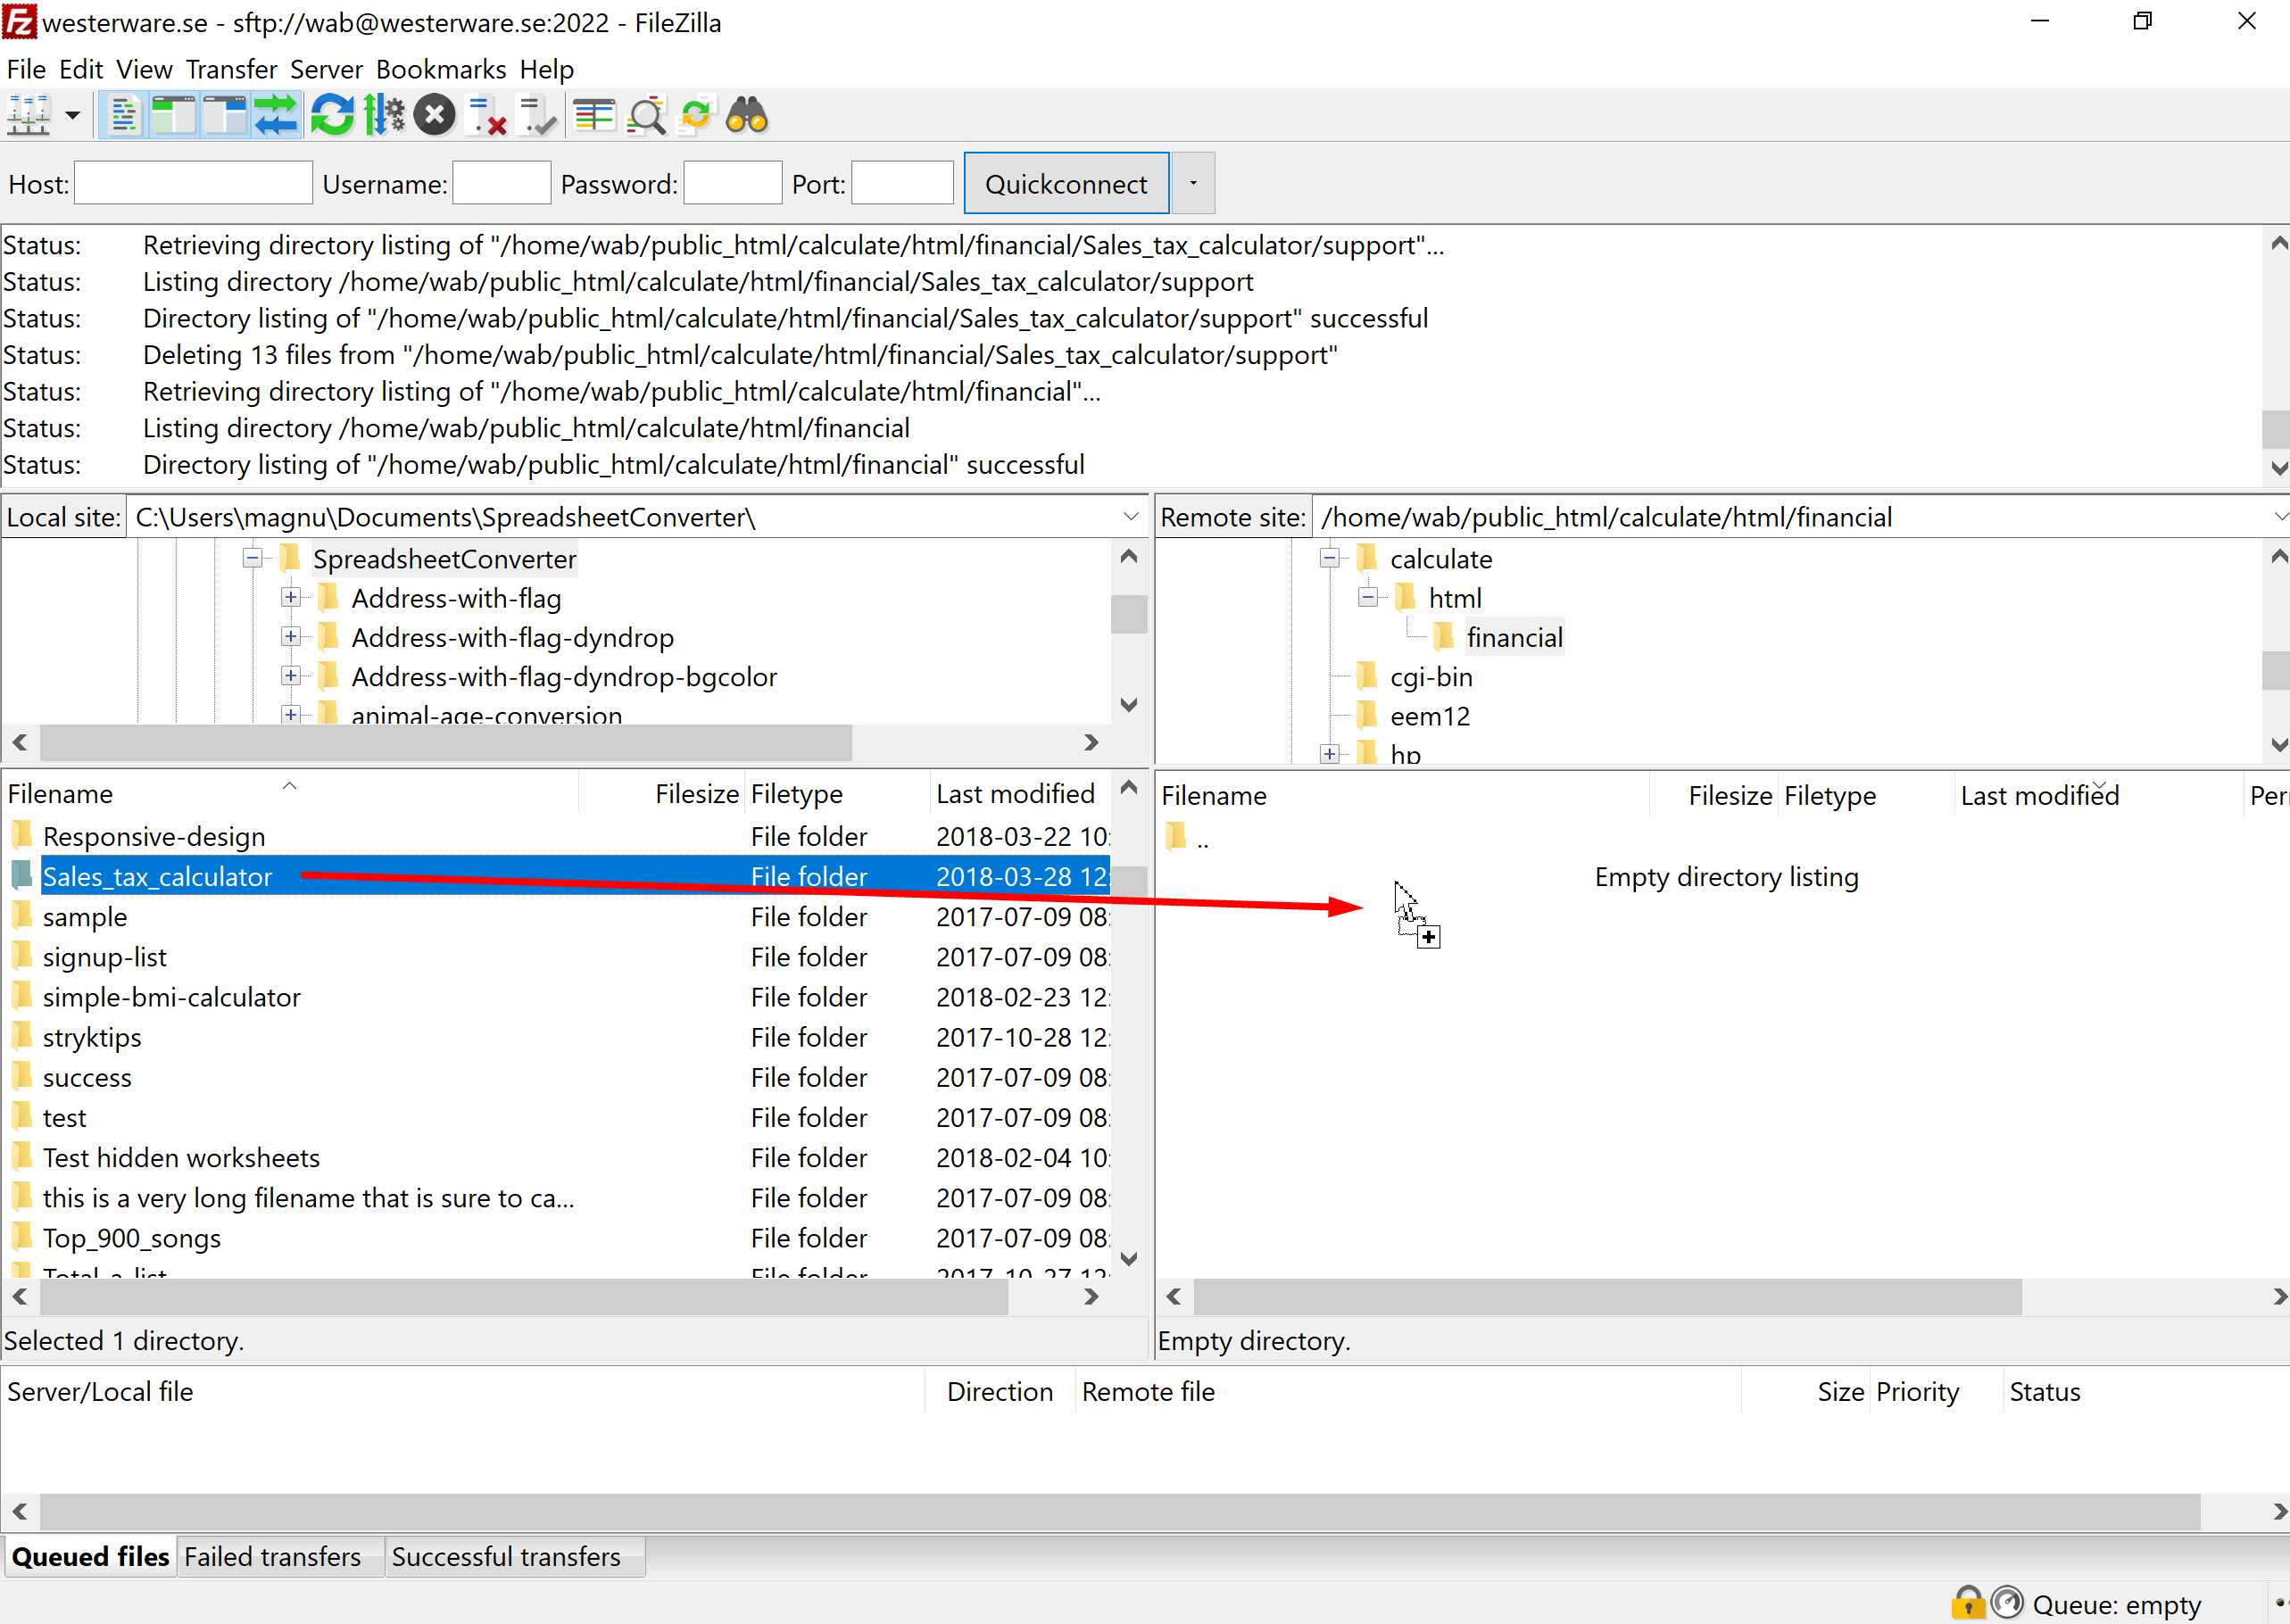
Most FTP programs show two “sites” side-by-side, the Local site and a folder on your hard disk, and a Remote site and a folder on the server.

Go to the Local site and navigate to the folder where SpreadsheetConverter stores the conversion results, as designated by the setting we showed you above. Example: C: > User > [user name] > Documents > SpreadsheetConverter. Click on this folder to see its contents in the lower half of the Local pane. Locate the folder that has the same name as the converted spreadsheet, in our case Sales_tax_calculator.
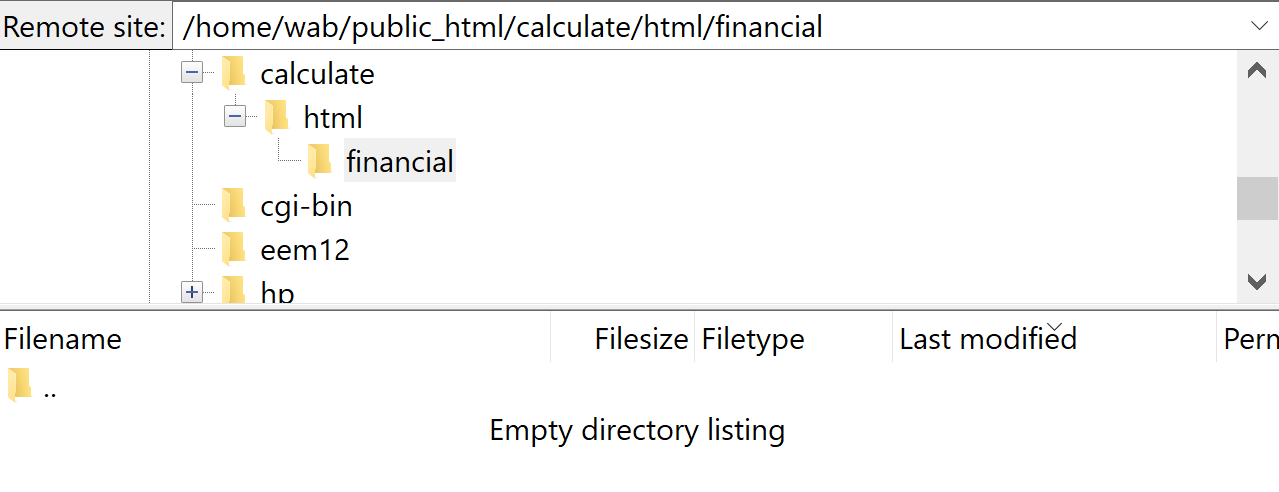
Move over to the right-hand Remote site pane and navigate to the folder where you want to place the converted web page, e.g. /calculate/html/financial/. If the folder structure you have planned for is not already in place, you may need to create additional folders on the server according to the instructions for your specific FTP client. Click on the folder to see its contents in the lower half of the Remote pane. In our example, the folder is currently empty.
Using the left mouse button, drag the entire folder (e.g. Sales_tax_calculator) from the hard disk folder in the Local pane into the server folder in the Remote pane. This instructs the FTP program to upload the file to the server. (If your FTP client does this in a different way, please consult the documentation.)
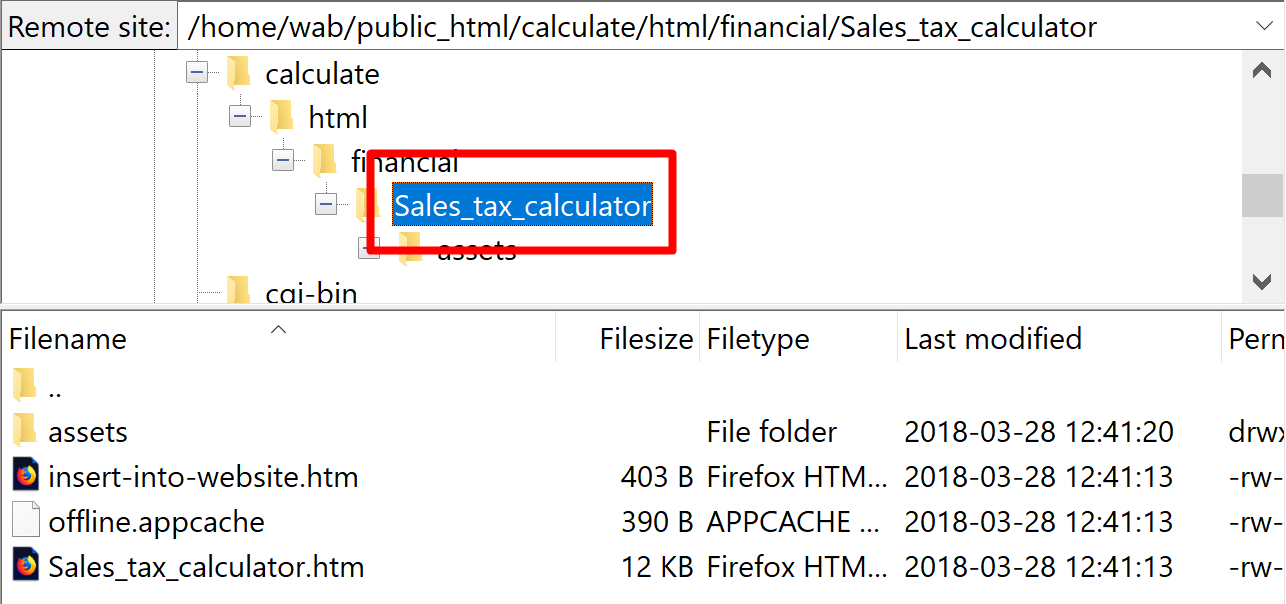
Uploading the folder takes a few seconds. The FTP client makes one or more connections to the server and uploads files and folders as required to copy the folder structure correctly. When the upload is complete, the folder in the Remote pane should look like this:
That’s it, you’re done! You can now access the file in your web browser by pointing it to the server, using the full path to the converted web page, e.g. https://samples.spreadsheetconverter.com/calculate/html/financial/Sales_tax_calculator/Sales_tax_calculator.htm.
If you want to embed the generated calculator on an existing page in your own website, it’s always best to retain the page within the outer folder (i.e. Sales_tax_calculator in the example above) to protect the machine-generated file structure. You may give the outer folder a different name if necessary.
If you have a strong reason to omit the extra folder, you can copy just the folder’s contents to the server. All the contents of the calculator’s folder must still be placed in the same folder as the web page, or the calculations from your spreadsheet won’t work.
Without the protection of the extra folder, you run a much greater risk of conflicts with existing files. We therefore recommend that you always keep the pages generated by SpreadsheetConverter in their own folders.


Click on Download to install and test this Excel add-in for Windows.
Click on Upload to let us convert a spreadsheet for you for free.